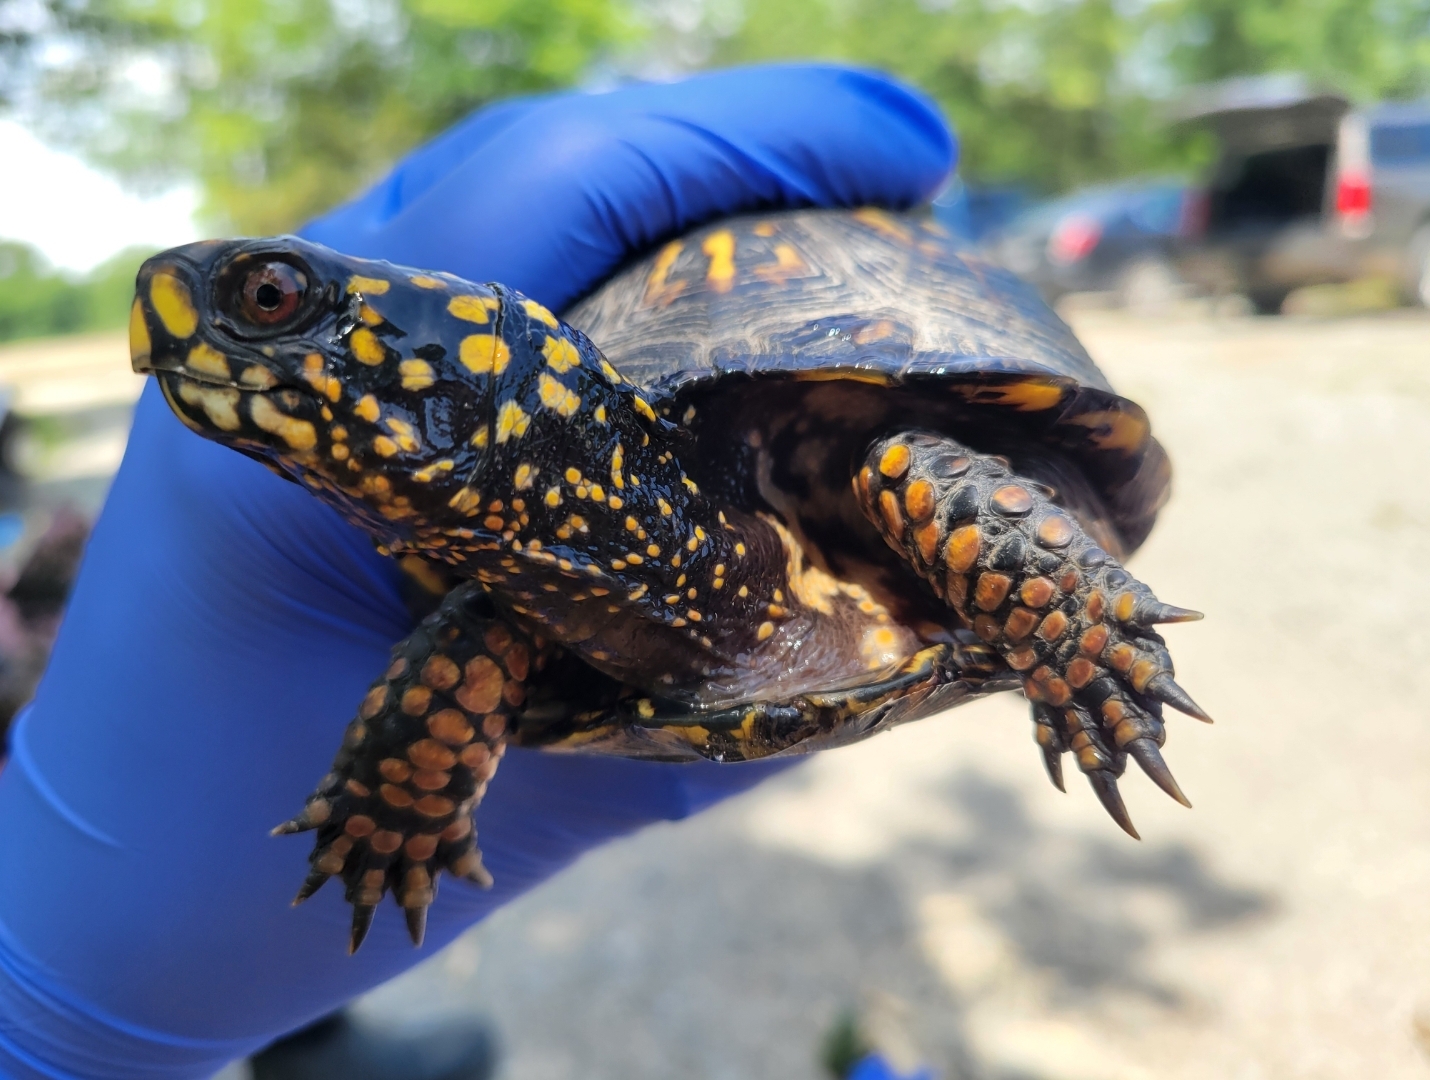
An essential part of our health assessment of each individual turtle is performing a physical exam! Physical exams can give us a lot of information, so they are therefore very important. While performing a physical exam, it is important that you maintain the same process each time, so that you do not miss anything. It is traditional to examine nose to tail, but everyone has their own unique preferences. Also, make sure to wear gloves and wash your hands afterwards.
Step 1: The head
When examining the head, there are various abnormalities that we keep an eye out for. When looking at the eyes, we want to assess for any ocular discharge or swelling. For the nose, we look for nasal discharge and symmetry of the nares. Next, we look at the mouth. When doing so, we look for discharge, mucous membrane color, if the mucous membranes are moist or dry, if there is anything in the mouth, and if there are plaques present in the mouth. When examining the tympanum (the turtle auditory organ), we look for any bulging, which may indicate an aural abscess. This is fairly common in turtles.
Step 2: The body
When examining the body, it is important to note the turtle’s body condition. Body condition may indicate if the turtle is eating the appropriate amount of food and if the turtle has a healthy activity level. This is especially important to assess in pet turtles because an abnormal body condition may indicate poor husbandry. Additionally, it is important to examine the integument (the skin). Specifically, we look for ectoparasites (which are more common in aquatic turtles), scale abnormalities, and skin lesions.
Step 3: The shell
The shell consists of the carapace (the top shell) and the plastron (the bottom shell). These are attached to the turtle’s bony skeleton. When examining both the carapace and the plastron, there are several abnormalities we look for including flaking, predator injury, pitting, erosions, fractures, and burns. We also look at the conformation and smoothness of the shell, and we examine the scutes. Lately, we have seen some turtles with additional scutes and some with strange scute patterns.
Step 4: The legs
When examining the legs, we look for obvious signs of injury such as skin lesions. We also look at the number and shapes of nails and toes. This summer, we have also seen some turtles that were missing whole legs and feet, so make sure not to miss that on your exam!
Step 5: The tail
Next, we look at the tail. Like the legs, we want to look for signs of injury or active lesions. It is possible to see partial tail amputations as well. Additionally, we extend out the tail to visualize the cloaca. Cloacal abnormalities can include prolapse as well as signs of unusual excrement such as blood or diarrhea. The location of the cloaca can also indicate the sex of the turtle. Specifically, a cloaca that extends beyond the carapace is a male characteristic, while a cloaca that does not pass the carapace is a female characteristic.
Step 6: Obtain samples
Lastly, we obtain blood samples from the subcarapacial sinus as well as oral, cloacal, and shell swabs for further diagnostic testing.